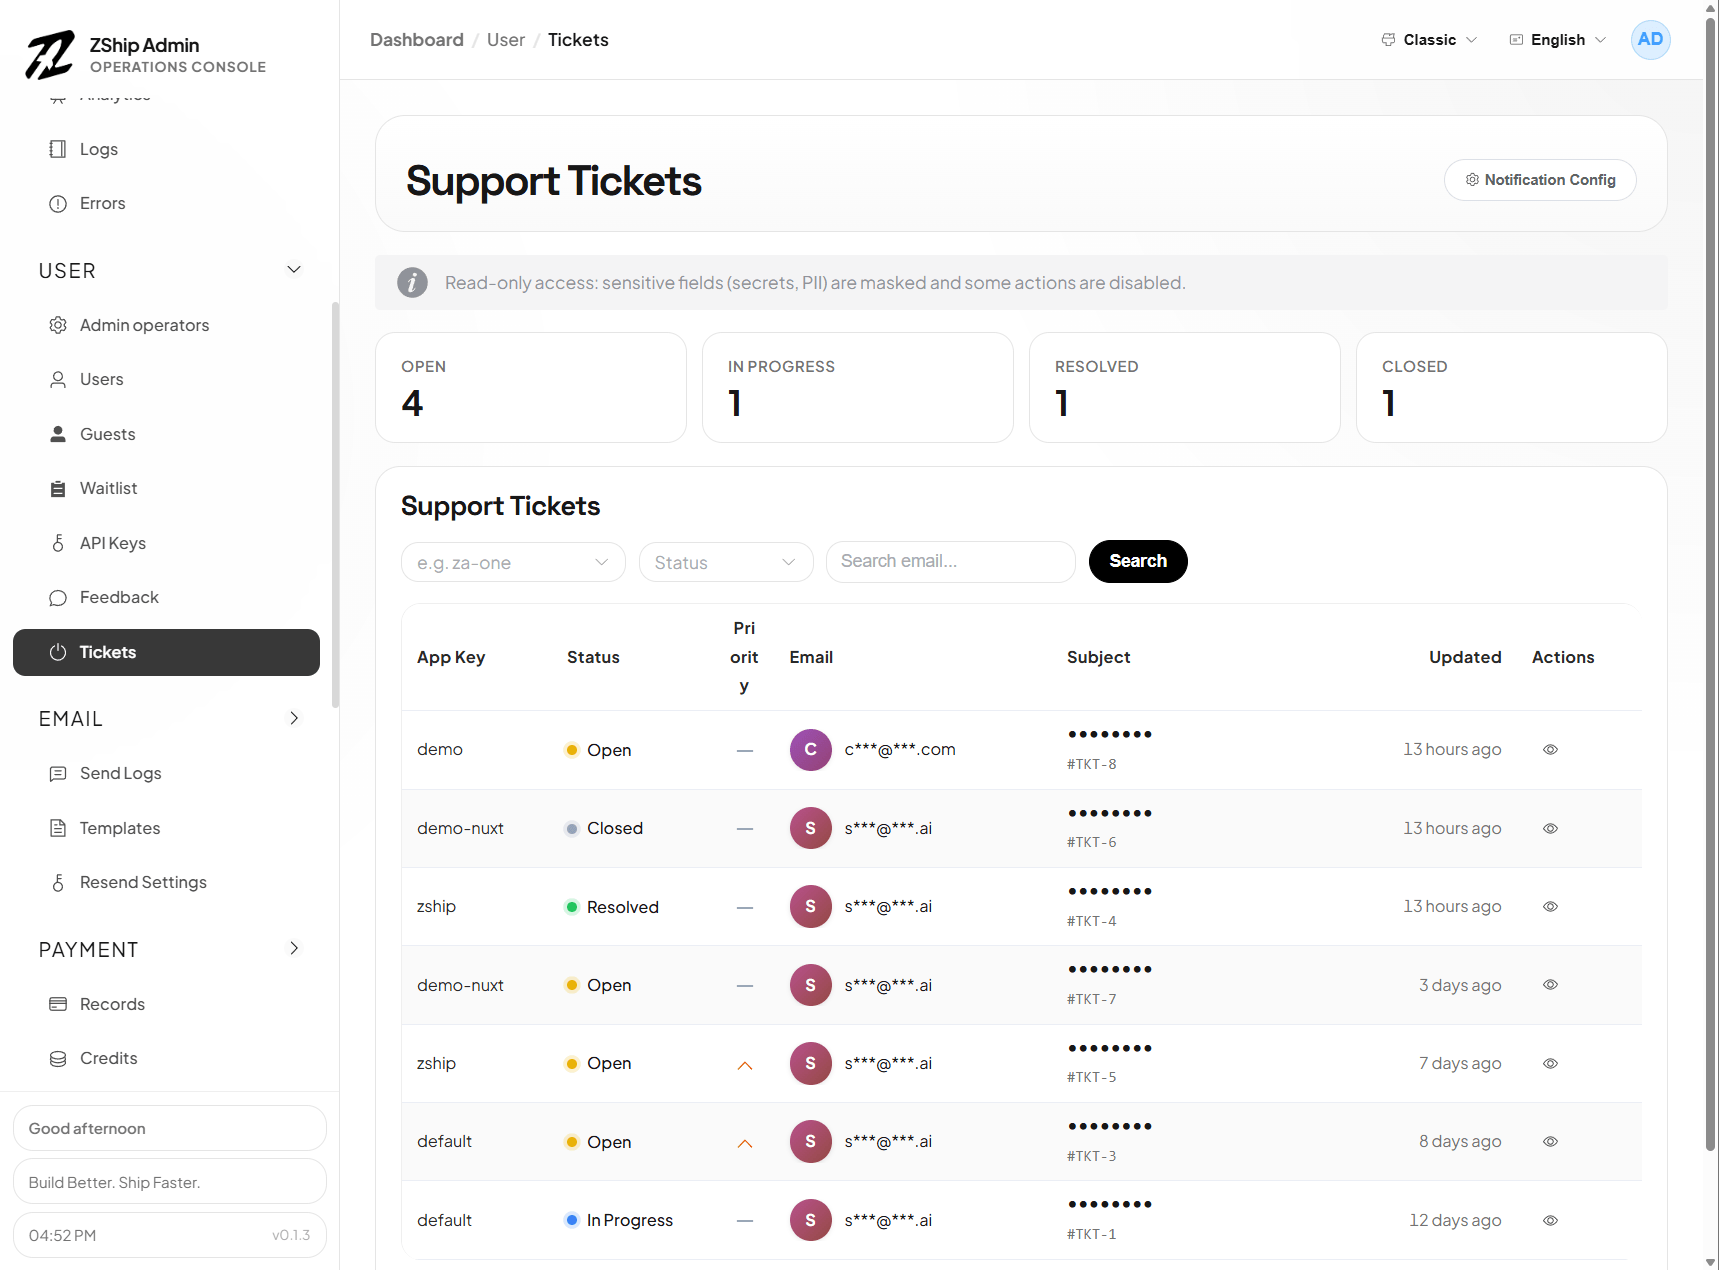
ZShip splits transactional email responsibilities between two Workers:
node2-support-serviceowns email templates, the legacy Resend delivery path, tickets, and feedback.node11-email-serviceowns Cloudflare Email Service / Resend providers, per-app routing, test sends, and delivery logs.
Keep Resend first in production. Use Cloudflare Email Service for selected projects or as a lower-priority failover provider.
1. Gather the prerequisites
Section titled “1. Gather the prerequisites”Before you start, prepare:
- A domain or subdomain using Cloudflare DNS, such as
email.example.com - Your Cloudflare Account ID
- Access to a Cloudflare account that can deploy Workers, manage D1, and configure the selected domain
- A deployed
zship-node1-authWorker - An inbox you control for real delivery tests
Check the Wrangler authentication currently available:
pnpm exec wrangler whoamiIf Wrangler is not authenticated, choose the method that fits your environment:
- On an interactive workstation, run
pnpm exec wrangler loginand complete the browser login. - For non-interactive or CI deployment, create a least-privilege API token and store it in the current shell or a CI secret:
export CLOUDFLARE_API_TOKEN="your token"export CLOUDFLARE_ACCOUNT_ID="your account ID"Never put an API token in the repository, an Admin provider, an AI prompt, logs, or chat. You need one authentication method, not both.
2. Onboard the sending domain
Section titled “2. Onboard the sending domain”- Open Cloudflare Dashboard → Compute → Email Service → Email Sending.
- Select Onboard Domain, then choose the domain or subdomain you will send from.
- Confirm the bounce MX, SPF, DKIM, and DMARC records Cloudflare creates.
- Wait until Email Sending shows that the domain is ready before deploying.
The From address must belong to that exact onboarded domain or subdomain, for example ZShip <noreply@email.example.com>. Do not reuse the seeded zship.ai sender.
Cloudflare references:
3. Create D1 and deploy node11
Section titled “3. Create D1 and deploy node11”Open the Email Worker directory:
cd backend/node11-email-serviceCreate D1 in your Cloudflare account and let Wrangler update the DB binding:
pnpm exec wrangler d1 create zship-email --binding DB --update-configpnpm exec wrangler d1 migrations apply zship-email --remoteBefore deploying, check wrangler.jsonc:
d1_databases[0].database_idis the database you just created, not an ID from the template or another account.send_emailcontains a binding namedEMAIL.NODE1_AUTHpoints to yourzship-node1-authWorker.
{ "d1_databases": [ { "binding": "DB", "database_name": "zship-email", "database_id": "<YOUR_D1_DATABASE_ID>", "migrations_dir": "migrations" } ], "send_email": [{ "name": "EMAIL" }], "services": [ { "binding": "NODE1_AUTH", "service": "zship-node1-auth" } ]}Deploy the Worker:
pnpm exec wrangler deployLocal wrangler dev can simulate the Email binding and report success without delivering a message. Use the deployed Worker for acceptance testing; only add remote: true temporarily when you intentionally need remote development.
4. Connect node2 and Admin
Section titled “4. Connect node2 and Admin”The repository template already contains both service bindings:
NODE11_EMAILinbackend/node2-support-service/wrangler.jsoncEMAIL_SERVICEinapps/admin/wrangler.toml
Confirm both point to the zship-node11-email Worker you just deployed, then redeploy node2-support-service and Admin. Without these bindings, Admin cannot manage node11 and node2 cannot fail over to node11.
5. Create the provider in Admin
Section titled “5. Create the provider in Admin”Open Admin → Email Service (/email-service) → Cloudflare fallback:
- Create a provider and select Cloudflare Email Service.
- Use a stable unique provider key such as
cloudflare-email. - Set From to a complete sender on the onboarded domain, such as
ZShip <noreply@email.example.com>. - Keep the provider enabled and save it.
A Cloudflare provider does not need an API key in Admin. Delivery authorization comes from the node11 Worker’s EMAIL binding. Only Resend providers store a Resend API key in Admin.
6. Configure routing and test delivery
Section titled “6. Configure routing and test delivery”Open Routing & test:
- Let projects inherit the global route by default; do not replace the existing Resend setup.
- For failover, select Failover order and place Resend before Cloudflare.
- For an isolated test, assign Cloudflare as the single provider only for a test project; do not change the global production route first.
- Send a test message to an inbox you control.
- In Delivery logs, confirm a successful status and the expected provider, then verify the From, subject, and body in the inbox.
After testing, restore the test project to “Inherit global default” or keep an explicit Resend → Cloudflare failover order.
7. Troubleshooting
Section titled “7. Troubleshooting”The UI says sent, but no message arrives
Section titled “The UI says sent, but no message arrives”- Confirm the test used the deployed Worker instead of a simulated local binding.
- Confirm From belongs exactly to the onboarded domain or subdomain.
- Check the Email Sending domain status and DNS records.
- Check Admin delivery logs and Cloudflare Worker logs.
Admin cannot load providers or logs
Section titled “Admin cannot load providers or logs”- Check the Admin
EMAIL_SERVICEservice binding. - Confirm node11 is deployed in the same account under the name
zship-node11-email. - Confirm the Admin user has read access to the email module.
Does this remove Resend?
Section titled “Does this remove Resend?”No. Resend remains the recommended primary provider. Cloudflare Email Service can serve only selected projects or follow Resend as a failover.
8. Rollback
Section titled “8. Rollback”Rollback in the lowest-impact order:
- Delete the project-level Cloudflare route and restore “Inherit global default”.
- Restore Resend-first routing globally or for the affected project.
- Disable the Cloudflare provider.
Routing rollback does not require deleting the sender domain, D1 database, or Worker. Confirm Resend delivery has recovered before deciding whether to remove Cloudflare resources.
9. Templates, tickets, and feedback
Section titled “9. Templates, tickets, and feedback”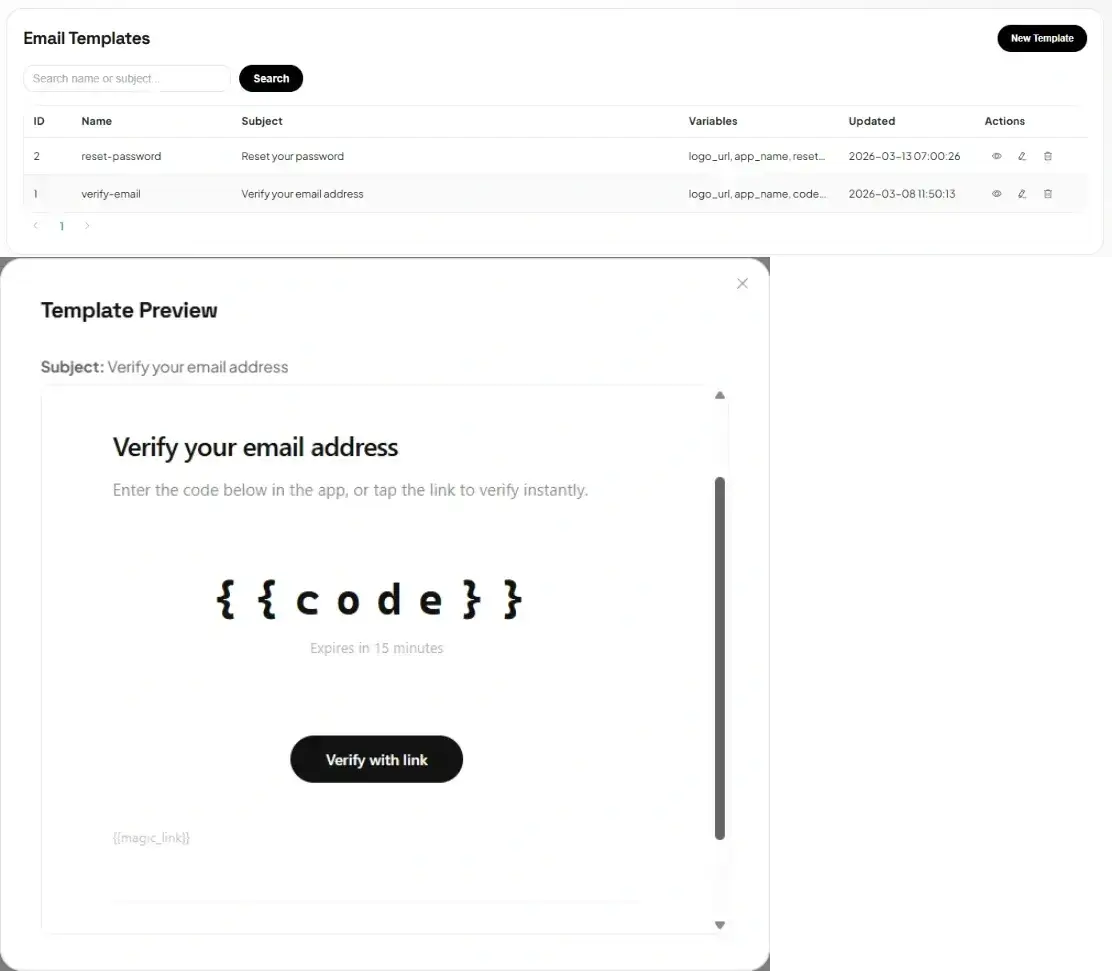
- Admin → Templates: password reset, email verification, and custom transactional templates
- Admin → Tickets: support tickets
- Admin → Email Service: providers, project routes, test sends, and delivery logs